Don’t alter your healthcare business to fit the software;
Medtech’s Practice Management System adapts to suit your needs.
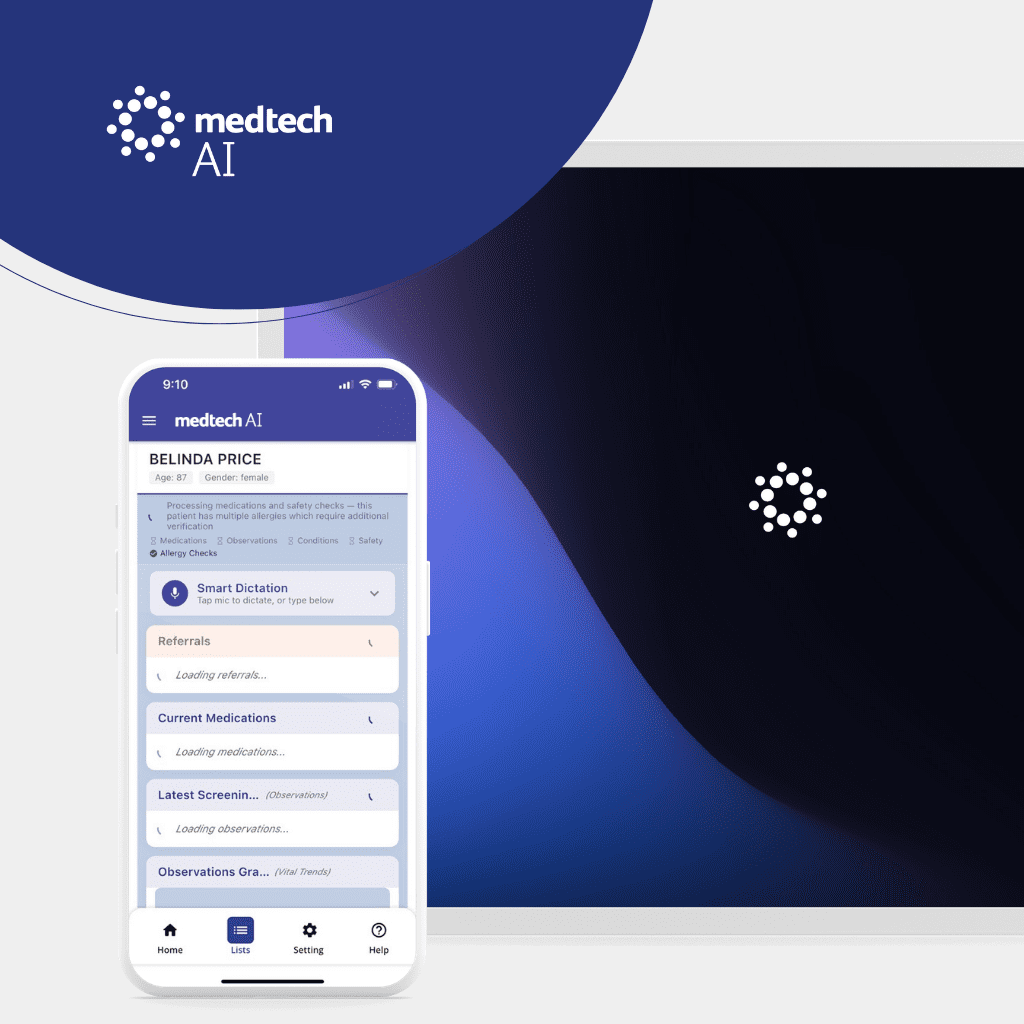
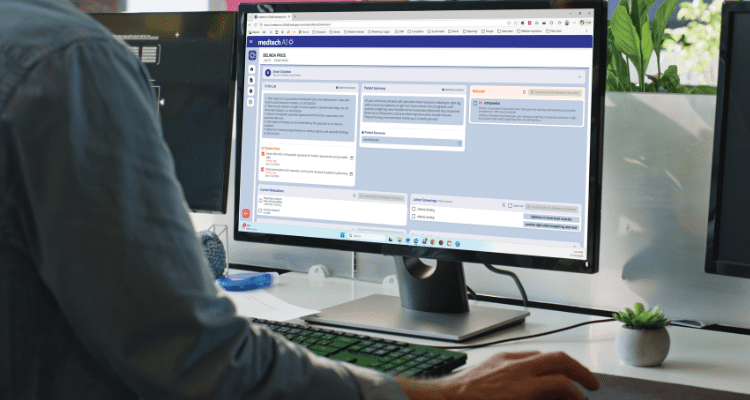
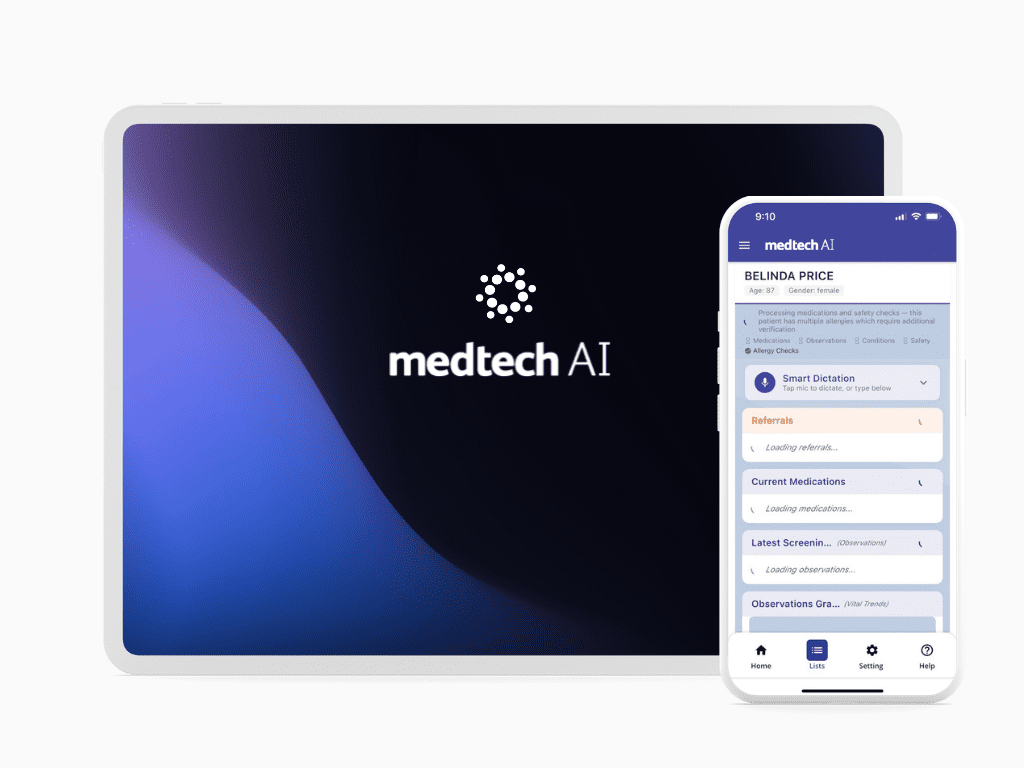
Create a customised Practice Management System featuring an AI Intelligence layer, data-driven health analytics, integrated payments, cloud hosting, and a wide range of secure API connections.